Are you bored of looking at the same drab piece of furniture in the corner of your room? Fancy putting more of your personality into your home and interior? Annie Sloan Chalk Paint is the perfect way to personalise your furniture!
If you’re slightly impatient and want a quick fix furniture change then this chalk paint is also ideal if you’re a total beginner when it comes to furniture painting. It dries super quickly, comes in plenty of colours and is really easy to apply. To paint your own furniture you’ll need to know a few things before you begin. We’ve made it easier for you by putting together a step-by-step guide to help glide you through your first painting experience!
If you haven’t yet heard of Annie Sloan paint let’s get to know some basics before you begin decorating your furniture!
What is Annie Sloan paint?
Annie Sloan Chalk Paint is a decorative furniture paint specifically designed by Annie Sloan herself to be easy to use, quick, and reliable. The paint doesn’t require any sanding, prepping or priming! The paint can be used to paint wood, mental, fabrics and so much more. It’s ideal for beginners and can be used to create the perfect desirable look or finishing touch to your space. The revolutionary paint is perfect for beginners and will easily transform your space into something that’s personal to you.
What Colours are available?
From grey to blue to dark green there are a total of 42 shades available in the Annie Sloan colours! Check out the gorgeous rainbow of colours on the Annie Sloan colour card and find the one that’s right for you.
A step-by-step guide to your first project
You will need:
-
An old cloth to protect any surfaces you’re painting eg. a curtain dust sheet
-
Duster
-
An old t-shirt or cloth
Step 1:
Choose your project piece
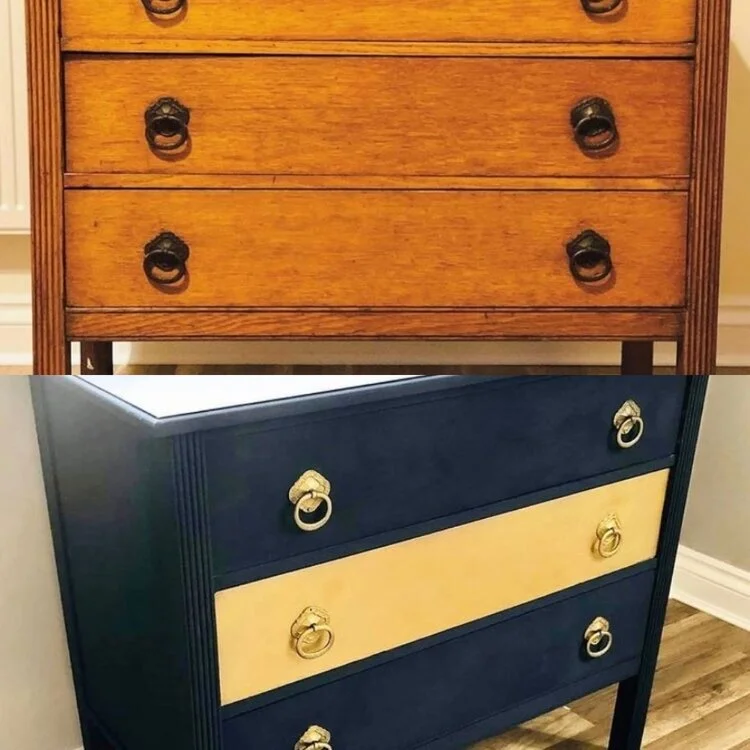
Get your piece ready by dusting it and laying it out on paper on an old piece of fabric or cloth. If you want to start small did you know you can paint lampshades and all things fabric? Otherwise the sky's the limit! Go big or go home and paint your old wardrobe or chest of drawers!
Step 2:
Remove any hardware
If you’re painting a set of drawers that still have their handles on you may want to remove them to avoid any paint splashing on them. If you have any other bits that you don’t want painting then cover them with some masking tape. Remember - with Annie Sloan there’s absolutely no need to do any sanding!
Step 3:
Apply your paint
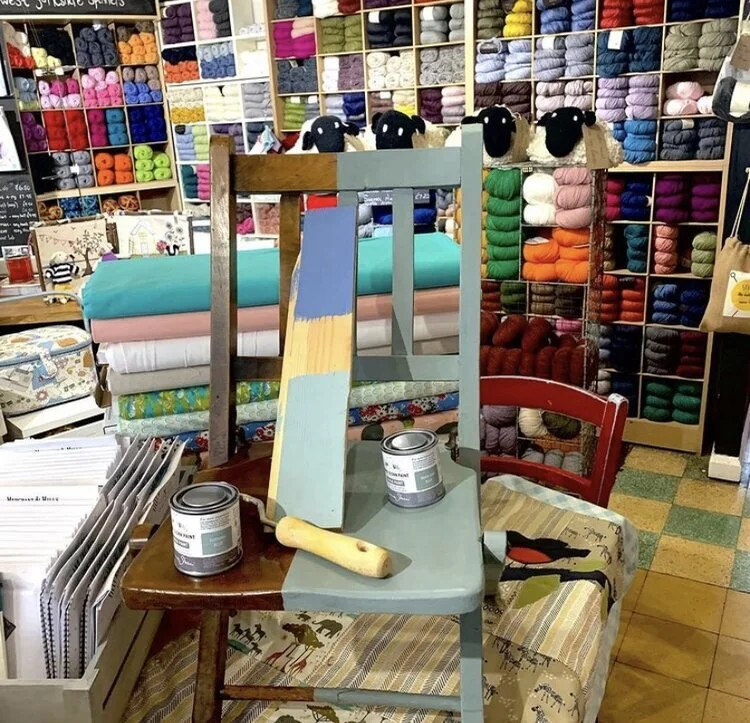
Here comes the fun part! Simply roll up your sleeves, dip your brush in the paint and get to work. If your paint is a bit too thick, just add a smidge of water to thin it out. Don’t be shy with your paint and make sure you pop plenty on your brush! Go against the grain and with the grain to make sure you’re covering all bases.
The paint should dry in around 20 minutes so you’ll probably be able to start your 2nd coat once you’ve finished your 1st. We recommend doing 2 coats of the paint in total, however feel free to pop on however many you think. Different coats going in different directions will create an older more vintage look, a couple of coats going in one direction will create a more modern look.


